Hardhat Setup
Installation of Hardhat
- Open Visual Studio Code: Launch Visual Studio Code once it's installed on your system, get it from here
- Open a New Terminal: In Visual Studio Code, open a new terminal window by selecting Terminal > New Terminal from the top menu, or by pressing
Ctrl + `(backtick). - Install Node.js and npm: Ensure you have Node.js and npm installed on your system. You can download and install them from the official Node.js website.
Initialize empty node.js project
npm init --y
- Install Hardhat globally: In the terminal window within Visual Studio Code, run the following npm command to install Hardhat globally on your system:
npm install -g hardhat
- Verify Installation: After the installation is complete, you can verify that Hardhat has been installed successfully by running the following command:
npx hardhat --version
- Once Hardhat is successfully installed , you can start developing smart contracts using Hardhat.
Configuring Hardhat
- Initialize Hardhat Project (Optional): If you want to start a new Hardhat project, navigate to the directory where you want to create the project in the terminal and run:
npx hardhat init
-
Hardhat will prompt you to choose a project type:
Create an empty hardhat.config.js,Create a JavaScript Project,Create a TypeScript project,Create a TypeScript project (with Viem)orQuit.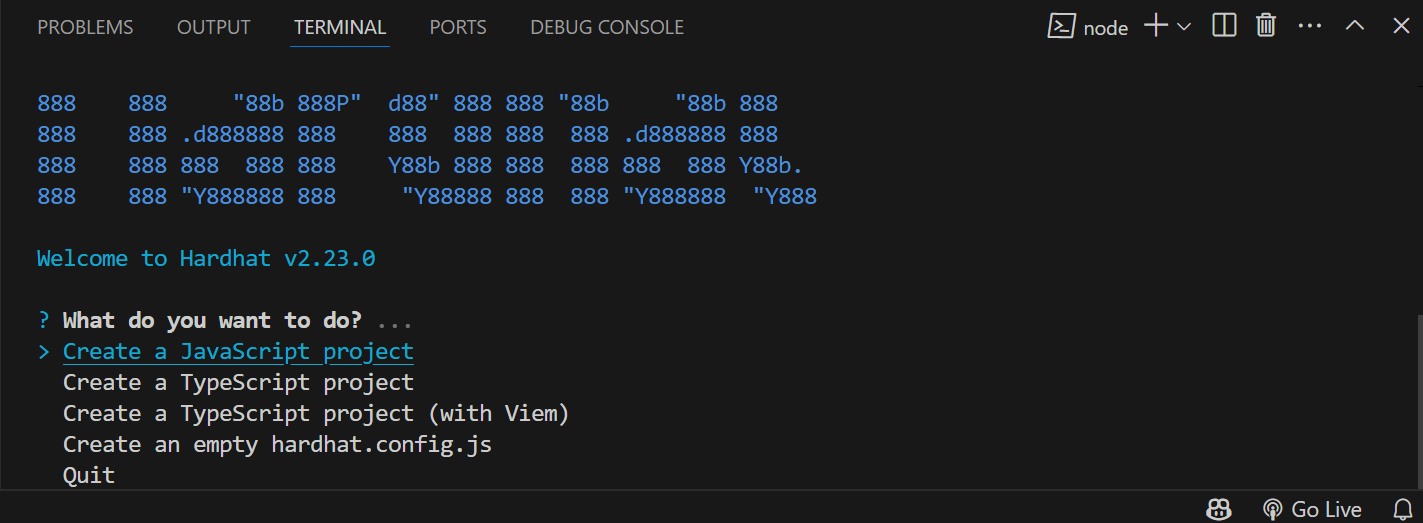
-
The
create a empty hardhat.config.jsoption will add just thehardhat.config.jsandpackage.json file.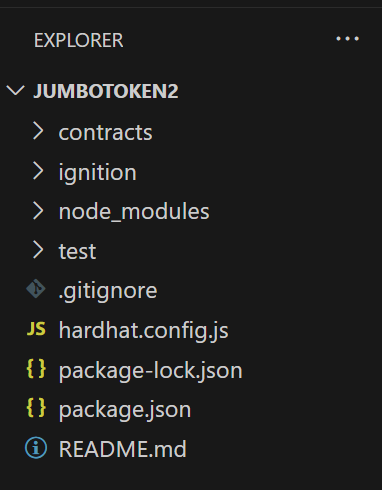
-
Create a JavaScript Project,Create a TypeScript project, orCreate a TypeScript project (with Viem), will add all the required project files according to the selected javascript/typescript language for your project.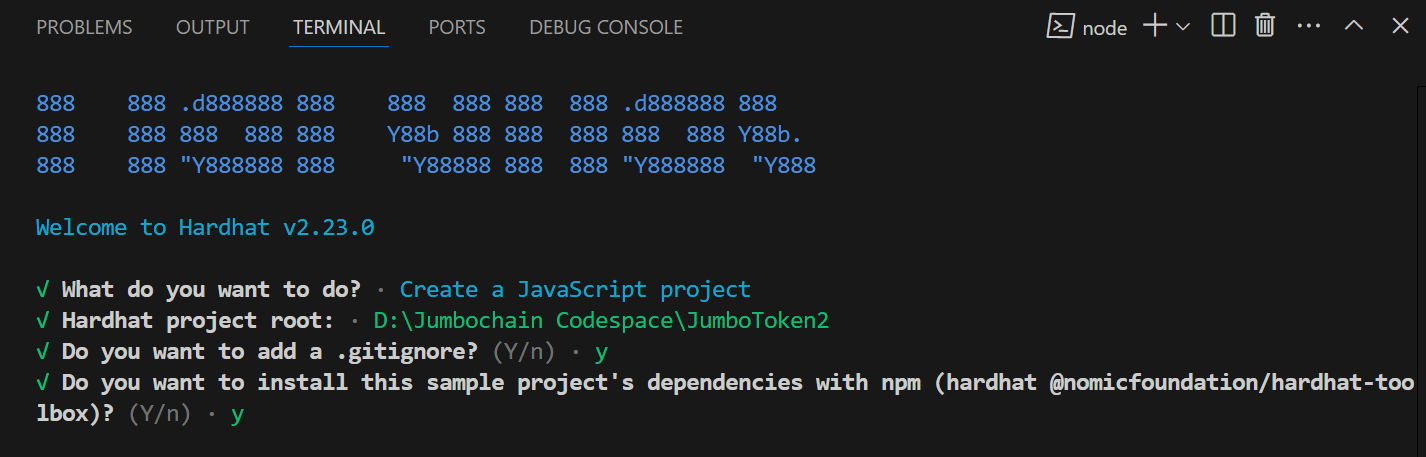
-
You can select any template of your preference, here we have selected
create a Javascript project, Hardhat will set up the necessary project structure and configuration files.
The create a typescript project option will create the same structure, just with typescript deploy and config file.
- Configuration File Setup: Create or modify the Hardhat configuration file
hardhat.config.jsto include settings specific to the Jumbo Blockchain network. This may involve specifying the network name, endpoint URL, chain ID, and other relevant parameters required to connect to the Jumbo Blockchain node.
require("@nomicfoundation/hardhat-toolbox");
const privatekey = "Enter_Your_Private_Key"; //Private Key of your metamask
// wallet from which the transaction will be called.

module.exports = {
  solidity: {
    compilers: [
      // Specify the different versions of compiler you have used in your contracts
      {
        version: "0.8.26", // you can adjust the compiler version as per your needs
        settings: {
          // optional
          optimizer: { enabled: true, runs: 800 },
          evmVersion: "istanbul",
          viaIR: true,
        },
      },
      {
        version: "0.8.24", // version can be adjusted
        settings: {
          optimizer: { enabled: true, runs: 800 },
          evmVersion: "paris",
          viaIR: true,
        },
      },
    ],
  },

  networks: {
    jumbochain: {
      url: `https://testnode.jumbochain.org`, // RPC URL which you can get from
      //the chainlist, as mentioned in the documentation.
      accounts: [`${privatekey}`],
    },
  },
}
-
Account Configuration: Configure accounts to be used for deploying smart contracts and interacting with the Jumbo Blockchain network. You may specify the private keys or mnemonic phrases of accounts authorized to perform transactions on the network. Ensure that these accounts have sufficient funds contract deployment.
-
Network Configuration:
networksis an optional object for mapping the network to their configuration.Here we define the JSON-RPC network in hardhat for connecting that hardhat with the Jumbo Blockchain network through the RPC_URL. You can find details for protojumbo testnet here. You can also search for Jumbochain Mainnet on chainlist.
In the
accountsfield defines the account to be used for the deployment of the contracts, You need to set the account private key inprivatekey.warningEnsure you have some JNFTC in your account for the contract deployment
-
Compiler Configuration: Optionally, configure the Solidity compiler settings in the Hardhat configuration file to match the version compatibility with Jumbo Blockchain.
This ensures that smart contracts are compiled using the appropriate compiler version compatible with the Jumbo Blockchain network.
-
Open the terminal or command prompt and navigate to the project directory.
Before you compile the contracts you need to install all the dependencies required. You can do so by running:
npm i
or, If you face errors while running the above command, try force running this command.
npm i -f
Developing Smart Contracts
-
Add your smart contracts in the
Contractsfolder, you can either upload or write the contracts there in solidity. -
Execute the following command provided by Hardhat to compile your contracts :
Compiling Smart Contracts
npx hardhat compile
- When you run npx hardhat compile in your terminal or command prompt, Hardhat will locate the Solidity files (.sol files) in your projects
Contractsdirectory, compile them, and generate corresponding bytecode, ABI (Application Binary Interface), and other artifacts needed for deployment and interaction with the smart contracts.
Upon successful compilation you will notice the generation of two files in the project directory artifacts and cache.
Deploying Smart Contracts
- Configure the
deploy.jsfile, created by default upon the hardhat to automate the deployment process under the scripts folder of your project typically.
const { ethers } = require("hardhat");

async function main() {
  const [deployer] = await ethers.getSigners();
  console.log("Deploying contracts with the account:", deployer.address);

  try {
    const MyContract = await ethers.getContractFactory("MyContract"); // <- you contract name

    const myContract = await MyContract.deploy("Welcome To Jumbochain");
    // Pass constructor arguments here if needed

    await myContract.waitForDeployment(); // Wait until deployed

    console.log("Contract deployed at address:", await myContract.getAddress());
    console.log("Deployment transaction hash:", myContract.deploymentTransaction().hash);

  } catch (error) {
    console.error("Deployment failed:", error);
    process.exit(1);
  }
}

main();
-
Define the deployment tasks within the script, including compiling contracts, deploying them to the specified network, signing the contract before deployment and verifying their deployment status.
-
You can also deploy multiple contracts together, here we have deployed a single contract named MyContract. This contract is saved in the
contractsfolder of your project directory. -
This script handles errors and retries in case of transaction failures or timeouts.
-
Execute the following command provided by Hardhat to deploy your contracts, make sure you have first successfully compiled the contracts first :
npx hardhat run --network jumbochain scripts/deploy.js
- you will get the deployer address,transaction hash and contract address as the output.

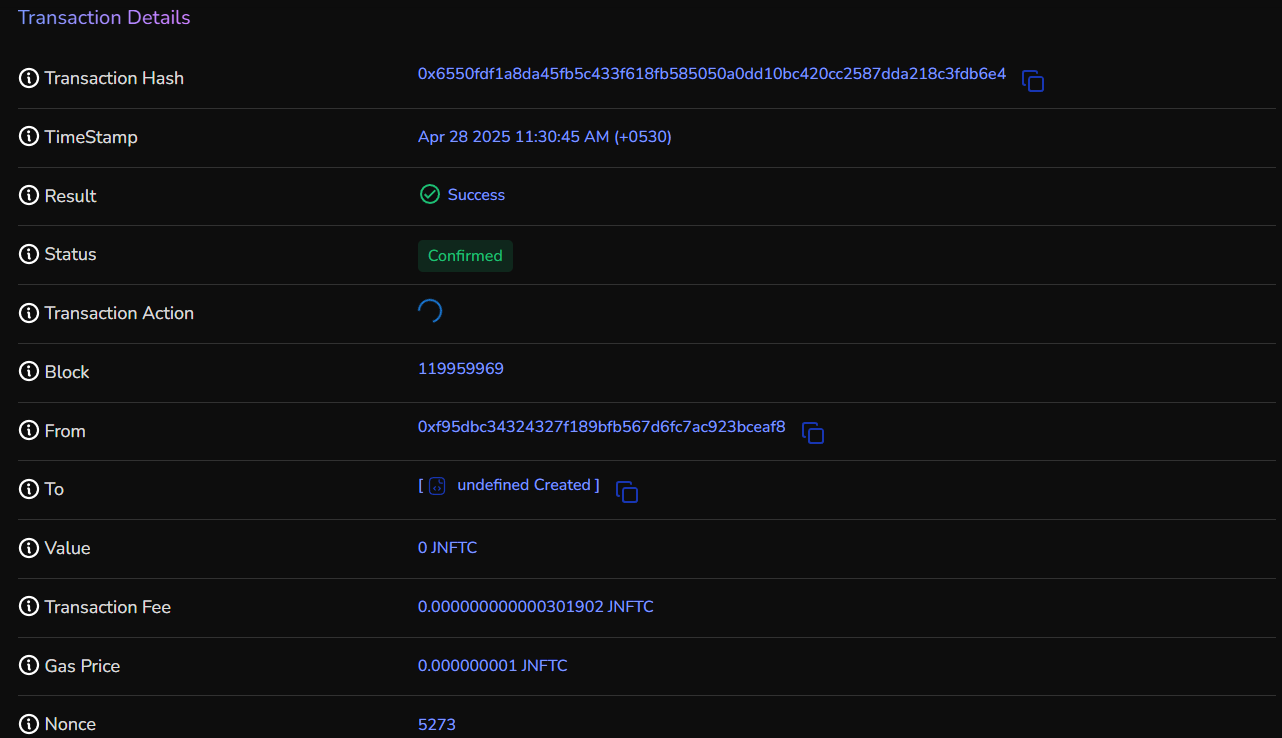
Verifying Your Deployment
- Optionally,we can verify the deployed contracts on the Jumbo Blockchain explorer
- Enter deployed contract transaction hash.
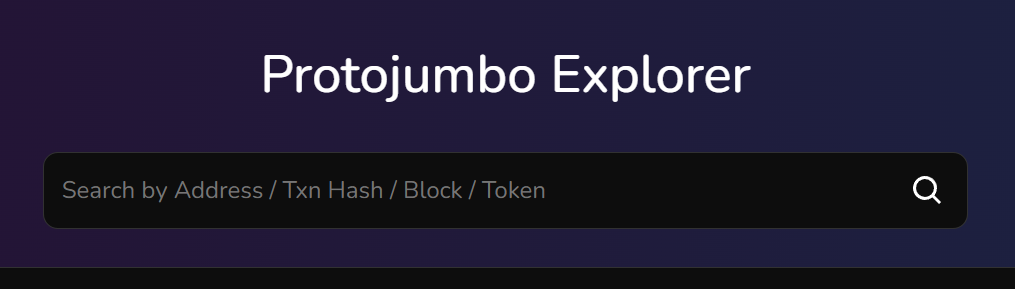
- We can see the transaction details in the window.
Conclusion
With hardhat we can easily deploy smart contracts to jumbochain.